Table of Contents
- Why Commercial Roof Inspection Matters for Your Operations
- What a Commercial Roof Inspection Checklist Should Cover
- How Often Should a Commercial Roof Be Inspected
- Understanding Commercial Roof Inspection Cost and Pricing Factors
- The Commercial Roof Inspection Report: What It Should Include
- How to Book Your Inspection and Prepare Your Property
- Post-Inspection: Acting on Findings and Next Steps
- Frequently Asked Questions
Last Updated: October 19, 2026
Why Commercial Roof Inspection Matters for Your Operations
A commercial roof inspection is a systematic evaluation of your roofing system to identify damage, assess structural integrity, and plan maintenance before problems escalate into costly repairs.
Alberta’s freeze-thaw cycles, heavy snow loads, and temperature swings can compromise membranes, flashing, and drainage within months.
At Iron Shield Roofing, proactive inspections catch problems at the membrane stage, not the structural damage stage, often a targeted repair instead of a full system replacement.
Schedule inspections before Alberta’s harsh seasons arrive. Spring and fall inspections catch winter damage and prepare your roof for the months ahead. This timing maximizes the value of your inspection findings.
What a Commercial Roof Inspection Checklist Should Cover
A thorough commercial roof inspection report documents every component affecting performance and longevity. Without a detailed checklist, inspectors miss critical areas.
Your inspection should systematically evaluate:
- Roof membrane condition, Torch-on, cold-process, or synthetic membranes show wear patterns that predict failure. Inspectors should note blistering, cracking, punctures, and areas where the membrane has separated from substrate or flashing.
- Flashing and penetrations, Roof penetrations for HVAC units, skylights, vents, and electrical conduits are the most common leak sources. Flashing should be intact, properly sealed, and free of corrosion or separation.
- Drainage systems, Blocked or damaged drains create ponding water, which accelerates membrane degradation. Gutters, downspouts, and internal drains must slope correctly and be clear of debris.
Many inspectors skip the interior assessment. Water intrusion often shows first from below, check ceilings, insulation, and structural framing for staining or moisture. Missing this step means you’ll discover leaks only after they damage operations.
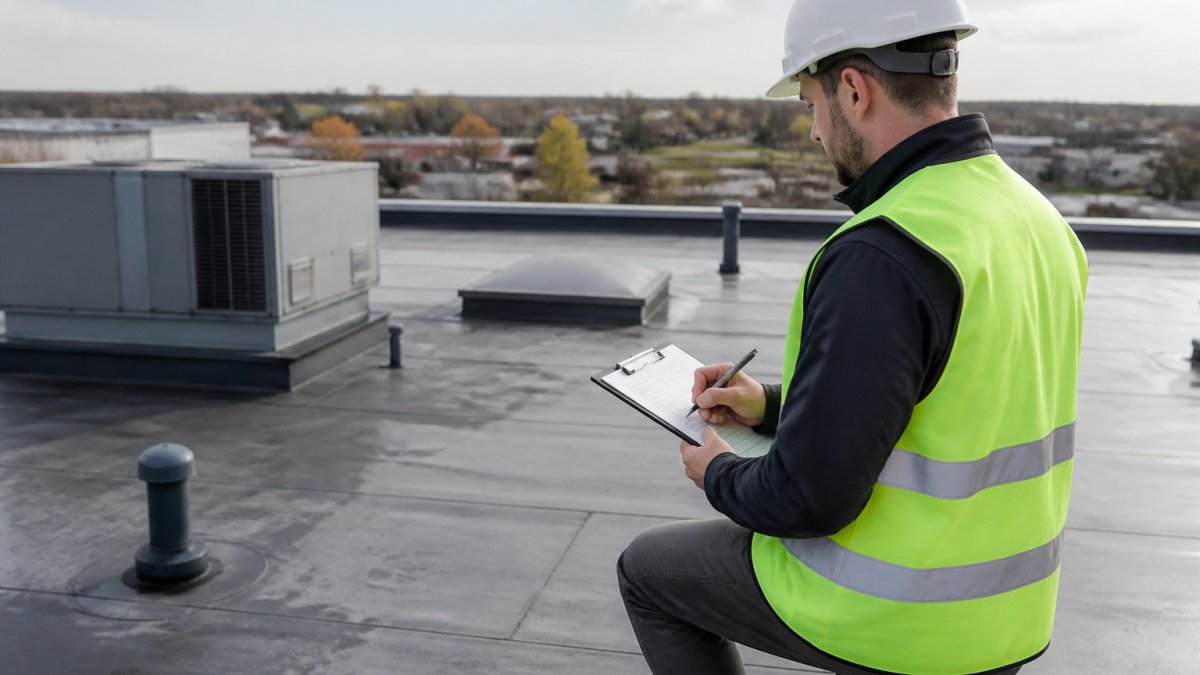
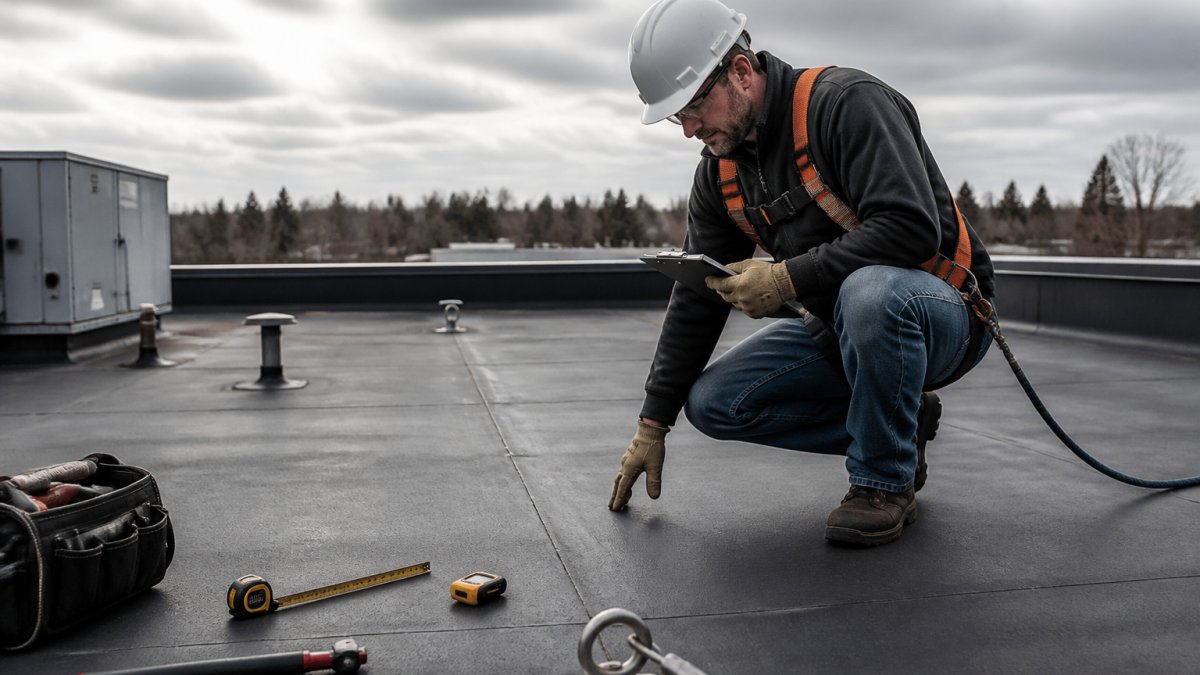
A professional inspector documents findings with photographs, measurements, and location references so you can track changes and prioritize repairs.
How Often Should a Commercial Roof Be Inspected
Inspection frequency depends on roof age, material, climate exposure, and maintenance history. A one-time inspection leaves you blind to changes between visits.
Most commercial property managers benefit from this schedule:
- New roofs (0-5 years): Annual inspection to verify that the system is performing as designed and catch any installation defects before they worsen.
- Mid-life roofs (5-15 years): Twice yearly, once in spring after winter weather and once in fall before the freeze-thaw cycle begins. This cadence catches seasonal damage early.
- Aging roofs (15+ years): Quarterly or after significant weather events. Older membranes degrade faster, and frequent monitoring prevents unexpected failures.
Between formal inspections, walk your roof quarterly if safe access allows to catch pooled water, visible damage, and debris that warrant professional assessment.
The cost of two inspections per year is a fraction of emergency repairs or replacement. Preventive maintenance scheduling transforms roof inspection from a checkbox into a cost control strategy.
Understanding Commercial Roof Inspection Cost and Pricing Factors
Inspection pricing is driven by scope and access more than roof size alone. Figures below are in Canadian dollars for commercial buyers budgeting and comparing quotes.
What drives the price
- Roof area and geometry, larger footprints and complex roofs (multiple levels, many penetrations, parapets, mechanical penthouses) take more time and equipment than a simple flat roof.
- Roof type and access, flat and low-slope roofs are generally faster and safer to access than steep-slope or metal roofs. Roof hatches, interior stairs, and certified anchor points reduce setup time; crane or lift access adds cost.
- Inspection scope, a visual condition assessment is the base scope. Adding moisture scanning, thermal imaging, drone imaging, core sampling, or lab testing increases the price at each step.
Typical CAD ranges to budget against
Exact pricing depends on the property. Always request a written quote for your building.
These are budgeting ranges, not quotes. A provider quoting well outside them should explain why, additional roof areas, lab testing, lift access, or a deeper report are legitimate reasons; a vague answer is not.
Bundle inspection with maintenance planning where possible. A single visit that produces both a condition report and a maintenance roadmap usually costs less than two separate visits, and it gives you a document you can budget against for the next 12 months.
Quote comparison checklist
With two or more quotes, compare line by line, not on the bottom-line number:
- Scope, visual only, or visual plus moisture/thermal/drone? Is core sampling included or extra?
- Deliverables, photo log, zone-by-zone findings, urgency ratings, repair recommendations, maintenance plan, verbal debrief?
- Access assumptions, does the quote assume you provide certified anchors and clear access, or does it include lift/crane?
How to avoid surprise costs
The most common surprise is scope creep on visit day, additional roof areas, a second building, or access problems change the price. Prevent it by sending a roof plan and issue list with your booking, confirming access and fall protection in advance, and getting a written quote with exclusions. For multiple roof sections, ask for per-section pricing.
The cheapest quote is rarely the lowest total cost. Compare scope and deliverables first, then price, a report that lets you plan repairs and budget for the next 12 months is worth more than a summary that tells you only that the roof is “in fair condition.”
The Commercial Roof Inspection Report: What It Should Include
An inspection report is your operational record for insurance claims, warranty validation, maintenance planning, and budget forecasting. A weak report leaves gaps that surface as disputes later.
Your inspection report should contain:
- Executive summary, A one-page overview of roof condition, critical issues, and recommended actions. Decision-makers should understand the status without reading the full report.
- Photographic documentation, Dated photographs of problem areas, repairs, condition variations, and reference points. Photos provide evidence for insurance claims and show progression over time.
- Detailed findings by section, The report should break the roof into zones and describe condition, damage, and maintenance needs for each, helping prioritize repairs.
A professional report becomes your baseline. Future inspections should reference it and track changes so you spot trends before they become emergencies.
How to Book Your Inspection and Prepare Your Property
Booking a commercial roof inspection is a short, structured process if you know what to send and expect back. Here’s the request, confirmation, site visit, and follow-up in order.
Step 1: Send the building profile
When you contact a provider to book, include enough detail that the inspector can scope the visit before arriving:
- Address and building use, office, retail, warehouse, multi-tenant, or industrial. Occupancy affects scheduling and safety planning.
- Roof area and geometry, approximate square footage, number of levels, and whether the roof is flat, low-slope, or steep-slope. If you have a roof plan or as-built drawing, attach it.
- Roof type and age, torch-on, cold-process, single-ply membrane (EPR, TPO, PVC), modified bitumen, or metal. Note the install year if known.
Properties with a roof plan and short issue list get a more accurate quote and faster scheduling than those supplying only an address.
Step 2: Confirm scope, price, and deliverables in writing
Before the visit is scheduled, ask the provider to confirm in writing:
- What the inspection covers (visual only, or visual plus moisture scan, thermal imaging, drone, or core sampling).
- What the report includes (photo log, zone-by-zone findings, urgency ratings, repair recommendations, maintenance plan).
- The quoted price and what could change it (access delays, additional roof areas, lab testing).
This written scope is your baseline for comparing quotes, see the pricing section for a comparison checklist.
Step 3: Prepare the property before the visit
- Clear roof access, unlock gates, hatches, and stairwell doors; confirm ladder condition; remove stored materials blocking the route.
- Confirm fall protection, if your building requires harnesses and anchor points, verify anchors are certified and accessible, or tell the provider so they bring their own compliant system.
- Notify tenants and staff, inspectors may need interior access to check ceilings, insulation, and framing for water staining; give notice so roof activity doesn’t cause concern.
Ask the provider to confirm whether the inspection is a routine condition assessment or an insurance-claim documentation visit. The two have different photo and measurement requirements, and mixing them up can mean a second visit at additional cost.
Step 4: What happens after you submit the request
A typical booking flow looks like this:
- Acknowledgement, the provider confirms receipt and may ask follow-up questions about access or scope.
- Quote and scheduling, you receive a written quote and proposed date; confirm both before the visit.
- Site visit, the inspector arrives, checks in with your site contact, and completes the assessment. Duration depends on roof size and scope; a mid-size flat roof with a visual and moisture scan is commonly a half-day visit.
- Report delivery, most providers deliver the written report within 5-10 business days of the visit. Confirm whether it arrives as a PDF, a portal upload, or a printed binder, and whether a verbal debrief is included.
- Follow-up, a good provider will walk you through critical findings and answer questions before you commit to repairs.
Step 5: Compare providers before you commit
Booking isn’t just picking the first available date. Compare at least two quotes on scope, deliverables, and report quality, not price alone. A cheaper visual-only inspection with a two-page summary can cost more long-term than a slightly higher-priced assessment with a zone-by-zone report, urgency ratings, and a budgetable maintenance plan.
If a provider cannot tell you in writing what the report will contain, treat that as a scope gap. The report is the deliverable you are actually buying, the site visit is just how it gets produced.
Step 6: Time the booking around the seasons
In this climate, spring and fall are the highest-value booking windows: spring catches freeze-thaw and snow-load damage, fall prepares the roof before the next freeze. Book post-storm or post-hail assessments separately and urgently, those are documentation visits for insurance, not routine condition checks. Avoid active rain, heavy snow, or extreme heat, both for safety and because moisture readings and photo quality are unreliable.
Post-Inspection: Acting on Findings and Next Steps
An inspection report is only valuable if you act on it. Many property managers file detailed reports without an action plan, then face emergency repairs six months later.
After you receive the inspection report:
- Prioritize by urgency, Separate critical repairs (address within 30 days) from moderate repairs (within 90 days) from routine maintenance. Critical issues are those that risk water intrusion or structural damage if left unaddressed.
- Get repair quotes, For critical and moderate repairs, request estimates from roofing contractors, including Iron Shield Roofing. Compare scope, timeline, and warranty terms; workmanship and warranty coverage matter more than price alone.
- Schedule repairs strategically, Bundle repairs when possible to minimize disruption and contractor mobilization costs. If your roof requires multiple visits, coordinate them into one project window.
- Document all work, When repairs are completed, request photos and a completion report from the contractor. This updates your maintenance record and protects your warranty.
- Create a maintenance calendar, Based on the inspection findings and recommendations, establish a preventive maintenance schedule. Mark inspection dates, seasonal maintenance tasks, and warranty renewal dates in your facility management system.
- Plan the next inspection, Schedule your follow-up inspection based on the frequency guidelines in your report. If your roof is mid-life and requires twice-yearly inspections, calendar both dates now.
According to Alberta’s occupational health and safety guidelines, building owners are responsible for maintaining safe conditions, which includes roof integrity.
The inspection-to-action gap is where most property managers lose money. A report gathering dust on your desk provides zero protection. Assign responsibility for each recommendation to a specific person with a deadline, and track completion.
The inspection process doesn’t end with the report, it begins a maintenance cycle that protects your investment. Iron Shield Roofing can help you interpret findings, plan repairs, and schedule follow-up inspections so your roof stays reliable through Alberta’s demanding seasons.
Protecting a commercial roof in Alberta’s climate requires more than reactive repairs, it demands a maintenance strategy backed by professional assessment.
Frequently Asked Questions
What does a commercial roof inspection include?
A thorough commercial roof inspection evaluates the roof membrane for cracks, blisters, and deterioration; checks flashing, penetrations, and drainage systems; assesses installation quality and workmanship; documents the roof’s overall condition; and identifies water intrusion points and maintenance needs. The inspection report provides documented findings and repair recommendations to guide maintenance planning and budget decisions.
How often should a commercial roof be inspected?
Most commercial roofs should be inspected twice yearly, spring and fall, to catch seasonal damage and plan maintenance. After severe weather such as hail or heavy snow, schedule an immediate inspection. New roofs may need annual inspections during the first five years. Older roofs or those in high-exposure areas benefit from more frequent inspections to prevent costly emergency repairs and extend roof life.
What should I prepare before a commercial roof inspection?
Ensure roof access is clear and safe for inspectors; remove obstacles and secure any loose materials. Notify tenants about the inspection timing to minimize disruption. Provide the inspector with roof documentation: age, previous repairs, warranty information, and known problem areas. Confirm whether drone-assisted inspection is needed for hard-to-reach sections. Have facility maps and maintenance records available to help the inspector understand your roofing system and operational constraints.
How much does a commercial roof inspection cost?
Commercial roof inspection pricing depends on roof size, type, complexity, site accessibility, and whether drone-assisted inspection is required. Weather conditions and the need for safety procedures also affect cost. Rather than guessing, contact your roofing provider for a quote tailored to your property. A professional inspection is a small investment compared to the cost of undetected leaks, water damage, or emergency repairs.